Overview
Payments can be created directly from the Payments list page or from an appointment detail page. When started from an appointment, the client and amount are pre-filled automatically. The form supports cash, card, check, gift card, and store credit. If your salon has Stripe Connect enabled, you can also redirect the client to a secure online checkout page.
Prerequisites
- Role required: admin, manager, receptionist, or employee (depending on salon configuration)
- Before you start: A client record must exist in the system. If the payment is linked to an appointment, the appointment must already be created.
Navigate to the payment form
You have two starting points:
From an appointment: Open the appointment detail page and click "Create Payment." The system will open the payment form at /payments/new/:appointmentId with the client and base amount already filled in.
From the Payments list: Go to /payments and click "Add New Payment." The form opens at /payments/new with all fields blank.
What you'll see: A card-style form titled "Process Payment" with sections for client information, payment amount, payment method, and options.
Select or confirm the client
If you arrived from an appointment: A read-only "Client Information" panel shows the client's name, requested service, appointment date, total price, and any deposit already paid. No selection is needed.
If you opened the form from the Payments list: A "Select Client" drop-down appears. Click it and choose the client from the list of active clients. The drop-down shows each client's full name and email address to help you find the right person.
Enter the payment amount
The "Payment Amount" field is pre-filled with the appointment total minus any deposit when coming from an appointment. Otherwise enter the amount manually.
The field shows a dollar sign icon on the left and accepts decimal values (e.g., 75.00).

Choose a payment method
Six payment method buttons are displayed in a grid:
- Cash
- Card
- Check
- Gift Card
- Store Credit
- (additional methods if configured)
Click the method the client is using. The selected method highlights with a blue border and blue background.
Fill in method-specific fields
For Cash payments: A "Cash Tendered" field appears. Enter the amount the client hands you. If it exceeds the payment amount, a green "Change Due" box shows the exact change to return.
For all other methods: A "Transaction Reference (Optional)" field appears. Enter a reference such as a check number or the last four digits of a card. This field is optional but recommended for reconciliation.
Add notes (optional)
The "Notes (Optional)" text area accepts any additional context -- for example, a note that a loyalty discount was applied or that the payment covers two services.
Add a tip (optional)
When the payment amount is greater than zero and you are not in edit mode, a tip input section appears below the notes field. Enter a tip amount in dollars. The tip is submitted alongside the main payment.
Send a receipt (optional)
Check the "Send receipt to client" checkbox to trigger a receipt notification to the client after the payment is processed.
Use Stripe online checkout (optional, if enabled)
If your salon has Stripe Connect set up and charges are enabled, a purple "Online Payment" panel appears at the bottom of the form. Click "Pay with Stripe" to create a Stripe Checkout session and redirect the client to a secure payment page hosted by Stripe.
Submit the payment
Click "Process Payment" (blue button at the bottom right). The button shows "Processing..." while the request is in flight.
On success, a notification confirms "Payment processed successfully." If you checked "Send receipt to client," a second notification confirms "Receipt sent to client." The system then navigates you back to the appointment page (if the payment was linked to one) or to the Payments list.
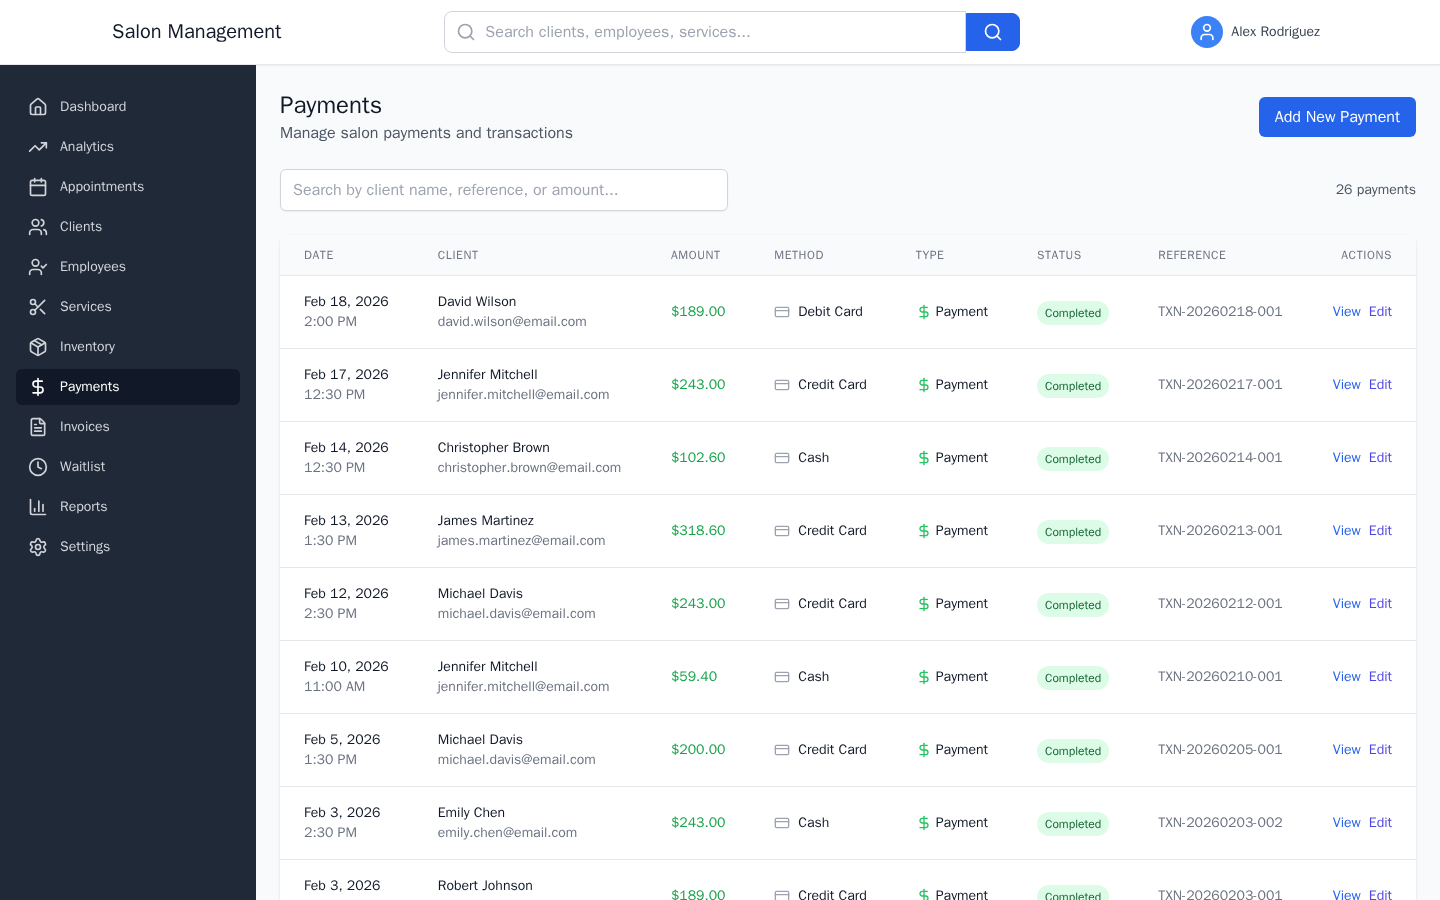
View or edit a payment
On the Payments list (/payments), each row shows the date, client name, amount, method, transaction type, status badge, and transaction reference. Two action links appear at the right of each row: "View" and "Edit."
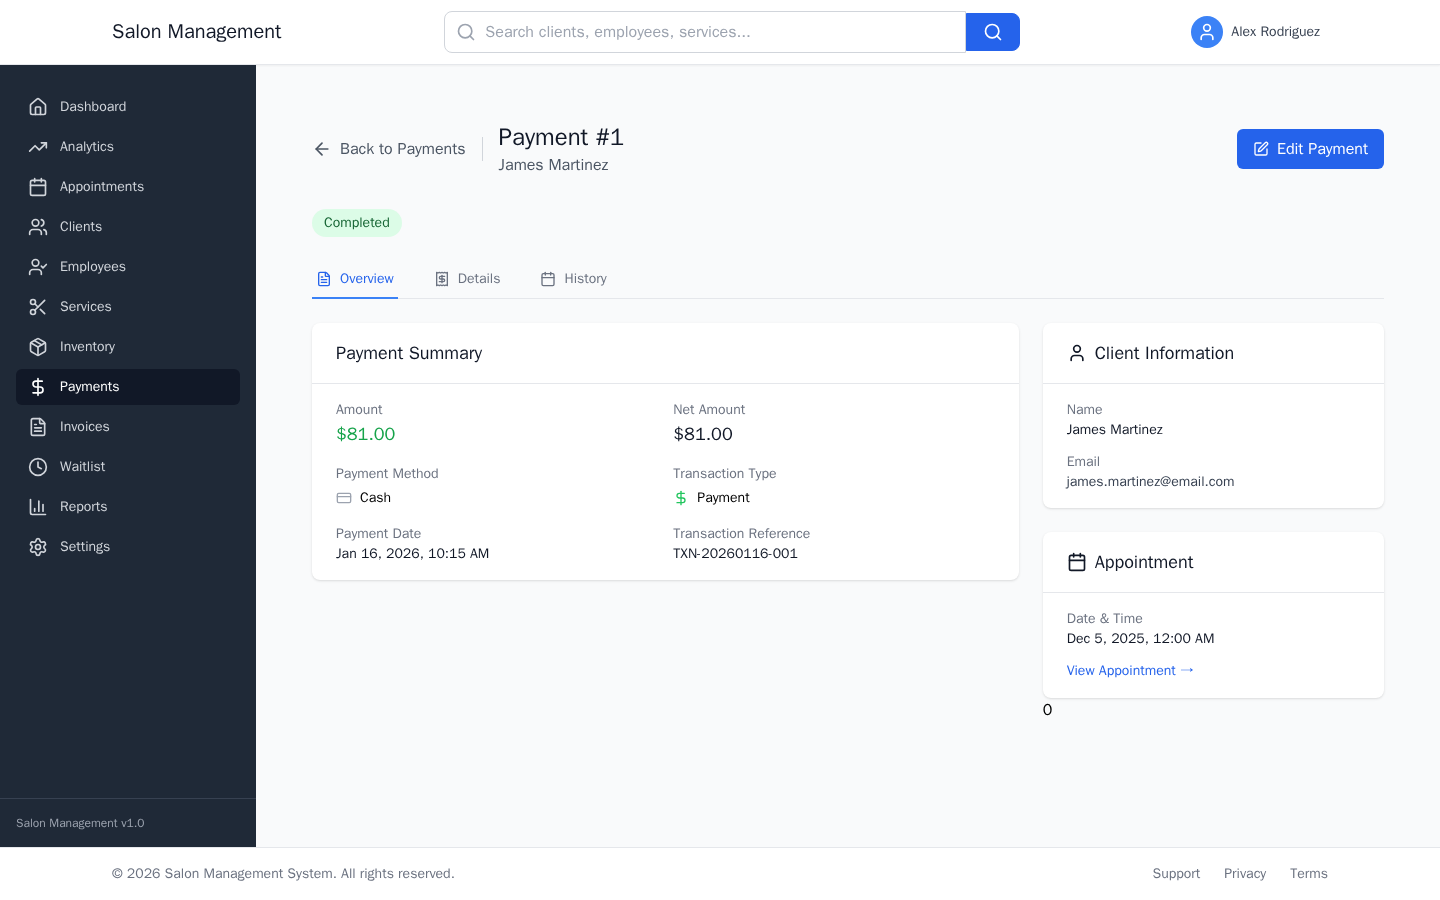
- View opens the detail page (
/payments/:id) with three tabs: Overview, Details, and History. - Edit opens the same payment form in edit mode with the title "Edit Payment" and a submit button that reads "Update Payment."
The payment detail page shows:
- Amount (green for payments, red for refunds)
- Payment method, transaction type, and date
- Client and appointment information in a sidebar panel
- Notes section
- Processing fee if applicable
- Full audit history on the History tab
Tips & Best Practices
Common Issues
| Issue | Solution |
|---|---|
| Client drop-down is empty | The client list only shows active clients. Go to Clients and verify the client's active status. |
| "Pay with Stripe" button does not appear | Stripe Connect is not enabled for this salon. Contact an admin to complete the Stripe onboarding. |
| Payment amount is 0 after opening from appointment | The appointment may not have a total price set. Edit the appointment to add pricing before creating the payment. |
| "Payment amount must be greater than zero" error | Enter a value greater than 0.00 in the Payment Amount field. |
| Receipt not received by client | Verify the client record has a valid email address saved. |
Related Journeys
- Booking an Appointment -- Create the appointment before processing its payment
- Creating and Sending an Invoice -- Use invoices for itemized billing; link payments to invoices for formal records
- Managing the Waitlist -- Seat a walk-in client, then process payment after service