Overview
The Settings page is where admins configure system-wide behavior for the salon. It is organized into five tabs covering general business information, notification preferences, security policies, third-party integrations, and appointment booking rules. Managers have access to a subset of these tabs. Use this journey when setting up the salon for the first time, onboarding new communication tools, or adjusting policies like cancellation fees and password requirements.
Prerequisites
- Role required: Admin has full access to all tabs. Manager can update General and Appointments settings. Other roles have read-only or no access to settings.
- Before you start: Gather your business details (address, phone, email), and have API keys or credentials ready for any integrations you want to connect.
Navigate to Settings
Click Settings in the main navigation. You'll land at /settings.
What you'll see: A two-column layout. The left column is a navigation panel listing the five setting tabs. The right column shows the content of the currently active tab (General is active by default).
At the top of the left navigation panel is a Search settings... input box. Type any keyword (e.g., "password", "cancel", "stripe") to filter the tab list to matching sections.
The five tabs are:
| Tab | Icon | Description |
|---|---|---|
| General | Building | Business information, hours, and regional settings |
| Notifications | Bell | Email, SMS, and push notification preferences |
| Security | Shield | Password policies, authentication, and data retention |
| Integrations | Plug | Third-party services and API connections |
| Appointments | Calendar | Booking rules, cancellation policies, and confirmations |
Click any tab in the left panel to load it in the right panel.
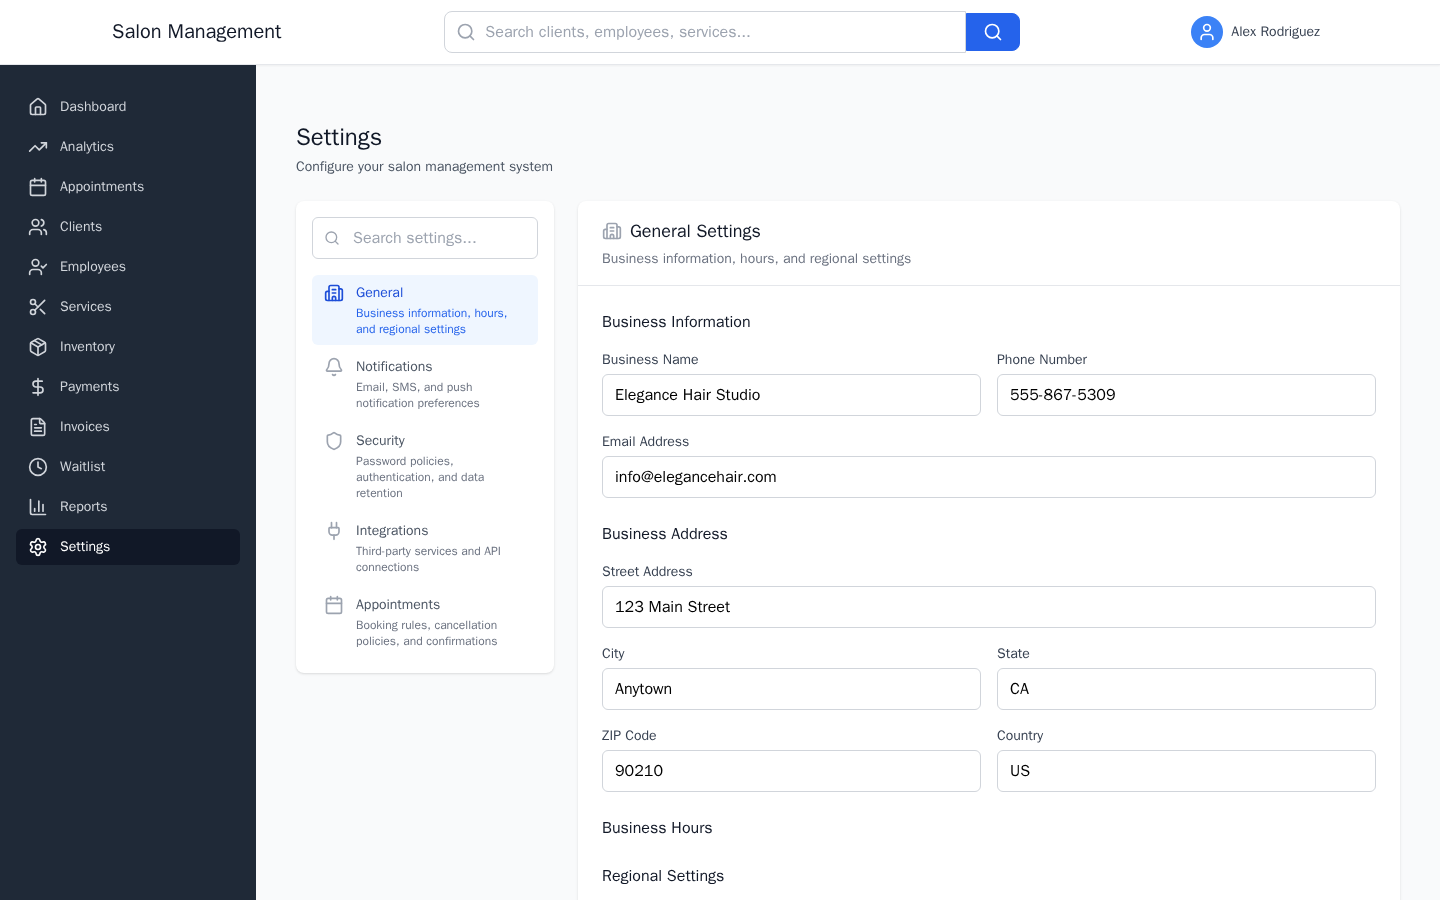
Configure General Settings
Click General in the left panel.
Business Information
- Business Name — Your salon's display name
- Phone Number — Primary contact number
- Email Address — Primary business email
Business Address
- Street Address
- City
- State
- ZIP Code
- Country
Business Hours
For each day of the week (Sunday through Saturday):
- Check the Open checkbox to mark that day as open
- When a day is marked open, two time inputs appear: Open Time and Close Time
- Leave the checkbox unchecked to mark that day as closed
Regional Settings
- Timezone — Select from common timezones (America/New_York, America/Chicago, America/Denver, America/Los_Angeles, America/Phoenix, Europe/London, Europe/Paris, Asia/Tokyo, Australia/Sydney)
- Currency — Select your currency (USD, EUR, GBP, CAD, AUD)
- Date Format — Choose MM/DD/YYYY, DD/MM/YYYY, or YYYY-MM-DD
- Time Format — Choose 12-hour (AM/PM) or 24-hour
After making changes, the Save Changes button becomes active. Click it to persist your changes. Click Reset to Defaults to discard unsaved changes and revert to the last saved state.
Configure Notifications
Click Notifications in the left panel.
This tab lets you control which automated messages are sent and when. Configure toggles for:
Email Notifications
- New appointment confirmation to client
- Appointment reminder (set how many hours before)
- Payment confirmation
- Invoice sent notification
SMS Notifications
- Appointment confirmation
- Appointment reminder
Push Notifications
- Browser/app push notification settings
Quiet Hours
- Scheduling rules to suppress notifications during off-hours
Template Customization
- Customize the wording of notification messages sent to clients
Click Save Changes after adjusting notification preferences.
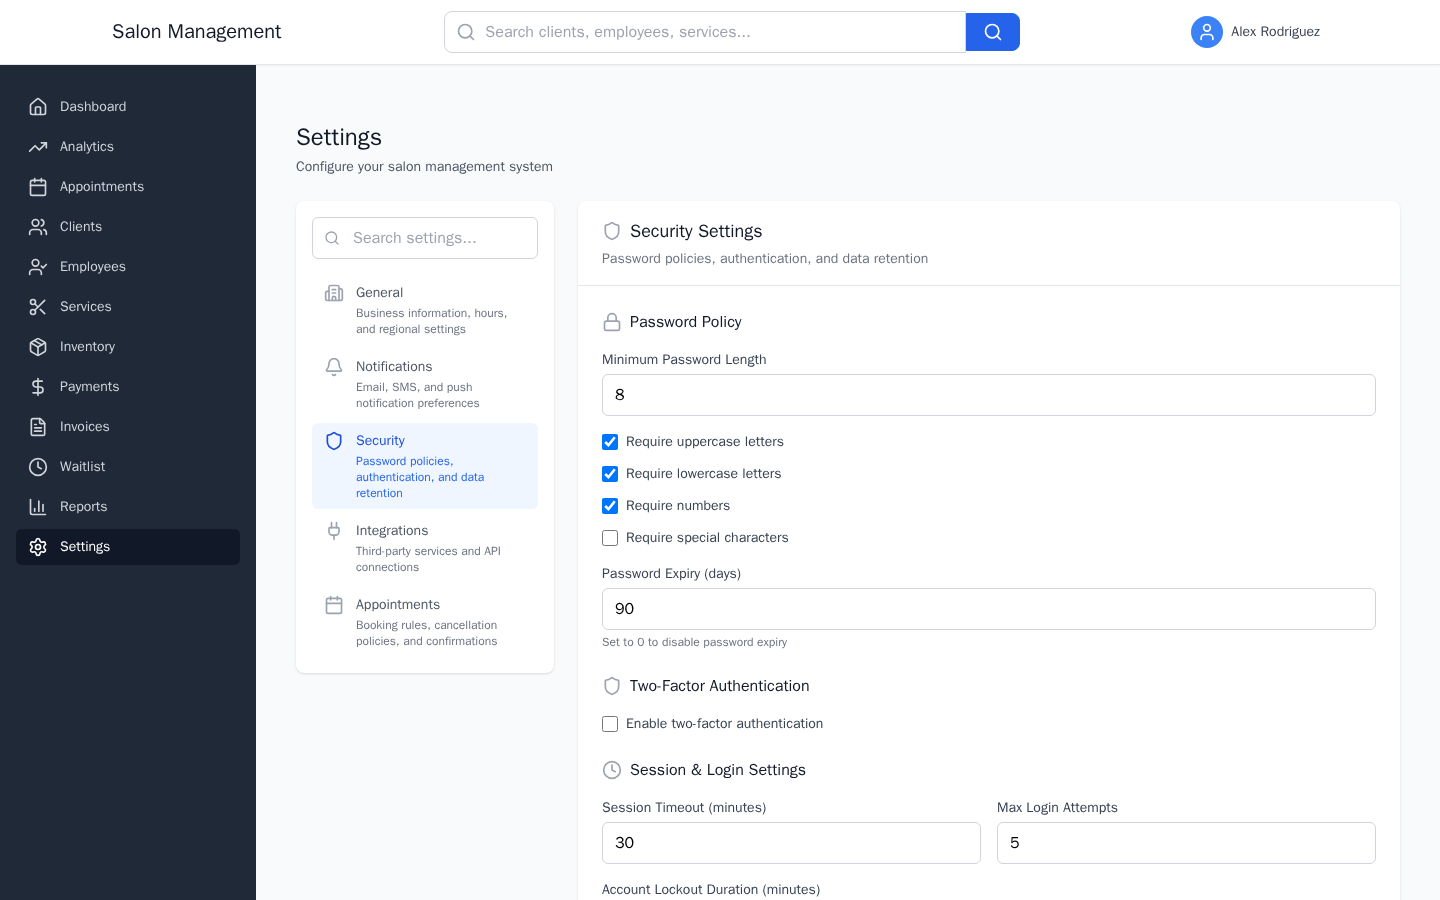
Configure Security
Click Security in the left panel.
Password Policy
- Minimum Password Length — Set the minimum number of characters (6-32)
- Require uppercase letters — Checkbox
- Require lowercase letters — Checkbox
- Require numbers — Checkbox
- Require special characters — Checkbox
- Password Expiry (days) — How often users must reset their password (0 disables expiry)
Two-Factor Authentication
- Enable two-factor authentication — Master toggle
- When enabled:
- Require for all users — Forces all accounts to use 2FA
- Authentication Methods — Check any combination of: Email, SMS, Authenticator App
Session & Login Settings
- Session Timeout (minutes) — Inactive users are logged out after this period (5-1,440 minutes)
- Max Login Attempts — Number of failed attempts before an account is locked (3-10)
- Account Lockout Duration (minutes) — How long a locked account stays locked (5-1,440 minutes)
Data Retention
- Client Data Retention (days) — How long client records are kept (30-3,650 days)
- Appointment History Retention (days) — How long appointment records are kept (30-3,650 days)
- Audit Log Retention (days) — How long security audit logs are kept (7-365 days)
Click Save Changes to apply security settings. Changes to password policy affect new passwords immediately; existing passwords are not invalidated unless you enforce re-login.
To review a history of setting changes, admins can access the audit log via GET /settings/audit-log.
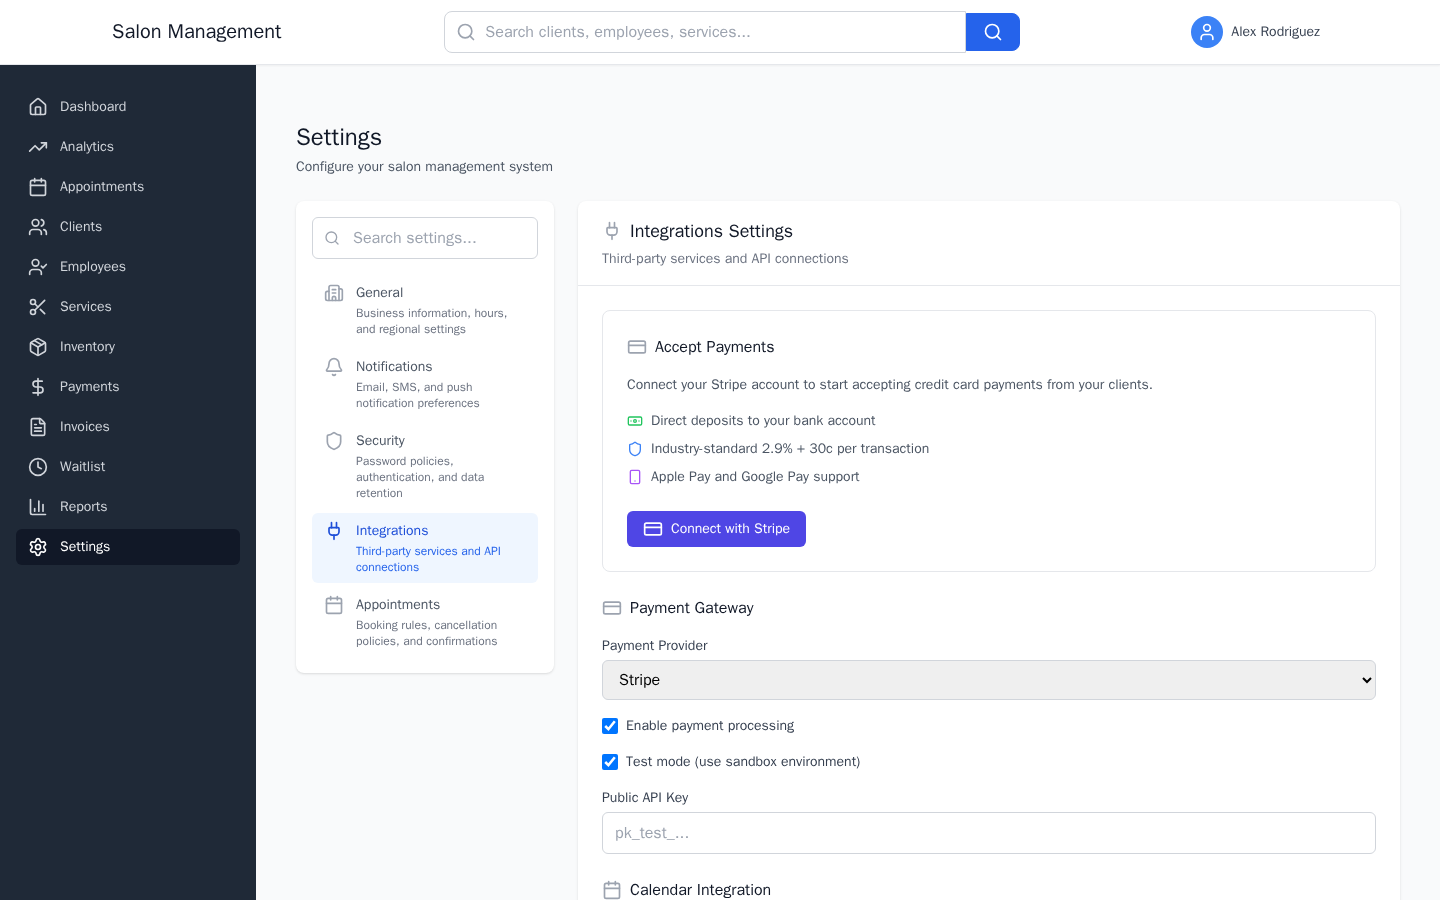
Configure Integrations
Click Integrations in the left panel.
Each integration card shows the service name, its current connection status, and action buttons. Available integrations include:
Stripe (Payment Processing)
- Connect your Stripe account to enable card payments and Stripe Connect for multi-location revenue splits
- Click Connect to begin the Stripe OAuth flow
- Once connected, a Test Connection button verifies the link is still active
- Click Disconnect to remove the Stripe connection
Email Service Provider
- Connect your transactional email provider (e.g., SendGrid, Mailgun)
- Enter your API key, then click Test to verify delivery
SMS Provider
- Connect your SMS gateway
- Enter credentials, then click Test to send a test message
Calendar Integration
- Connect Google Calendar or other calendar providers for two-way sync
CRM Integration
- Link an external CRM to sync client records
Accounting Integration
- Connect accounting software (e.g., QuickBooks) for automated bookkeeping
For each integration, the standard controls are:
- An API Key or Token input field
- A status indicator (Connected / Not Connected)
- A Test Connection button
- A Disconnect button (only shown when connected)
Click Save Changes after updating any integration credentials.
Configure Appointment Settings
Click Appointments in the left panel.
Booking Rules
- Minimum Advance Booking (hours) — How far in advance an appointment must be booked (0-168 hours)
- Maximum Advance Booking (days) — How far into the future clients can book (1-365 days)
- Allow walk-in appointments — Checkbox; enables walk-in bookings
- Allow double booking — Checkbox; allows multiple appointments at the same time slot
- Require deposit for booking — Checkbox; when checked, two additional fields appear:
- Deposit Amount — The deposit value
- Deposit Type — "Percentage of Service" or "Fixed Amount"
Cancellation Policy
- Allow customers to cancel appointments — Master toggle for cancellations
- When enabled, additional controls appear:
- Minimum Hours Before Appointment — How far in advance cancellations are allowed (0-168 hours)
- Cancellation Fee — Amount charged for late cancellations
- Fee Type — "Percentage of Service" or "Fixed Amount"
- No-Cancel Period (hours before appointment) — Window during which cancellations are blocked entirely (0-48 hours)
Confirmation Settings
- Require appointment confirmation — When checked, appointments start in a pending state until confirmed
- When enabled:
- Auto-confirm after (hours) — Automatically confirm if no response is received within this window (0-48 hours)
- Send confirmation email — Checkbox
- Send confirmation SMS — Checkbox
Click Save Changes after adjusting appointment settings.

Tips & Best Practices
Common Issues
| Issue | Solution |
|---|---|
| Save Changes button is grayed out | No changes have been made yet. Edit a field to enable the button. |
| Stripe connection failing | Verify the Stripe account is in the correct mode (live vs. test). Use the Test Connection button to confirm. |
| Business hours not saving | Ensure each open day has both an open time and a close time filled in. |
| Settings appear to revert after refresh | If the frontend is temporarily using a localStorage fallback, your changes may not have persisted. Check with your admin that the backend settings API is reachable. |
| Two-factor authentication locked me out | Contact an admin. They can disable the 2FA requirement from this Security tab using another admin account. |
| Password policy change not enforced | New password policies apply on the next password change or reset. Existing sessions are not immediately affected. |
Related Journeys
- First Login & Setup — Initial configuration sequence that leads to this page
- Booking an Appointment — Appointment booking rules configured here affect the booking flow
- Processing a Payment — Stripe integration configured here is required for card payments