Getting Started
These guides walk you through every major workflow in the Artie AI portal with annotated screenshots from the actual application. Start with Guide 1: First Login & Setup if you are new to the platform, then explore the specific features you need.
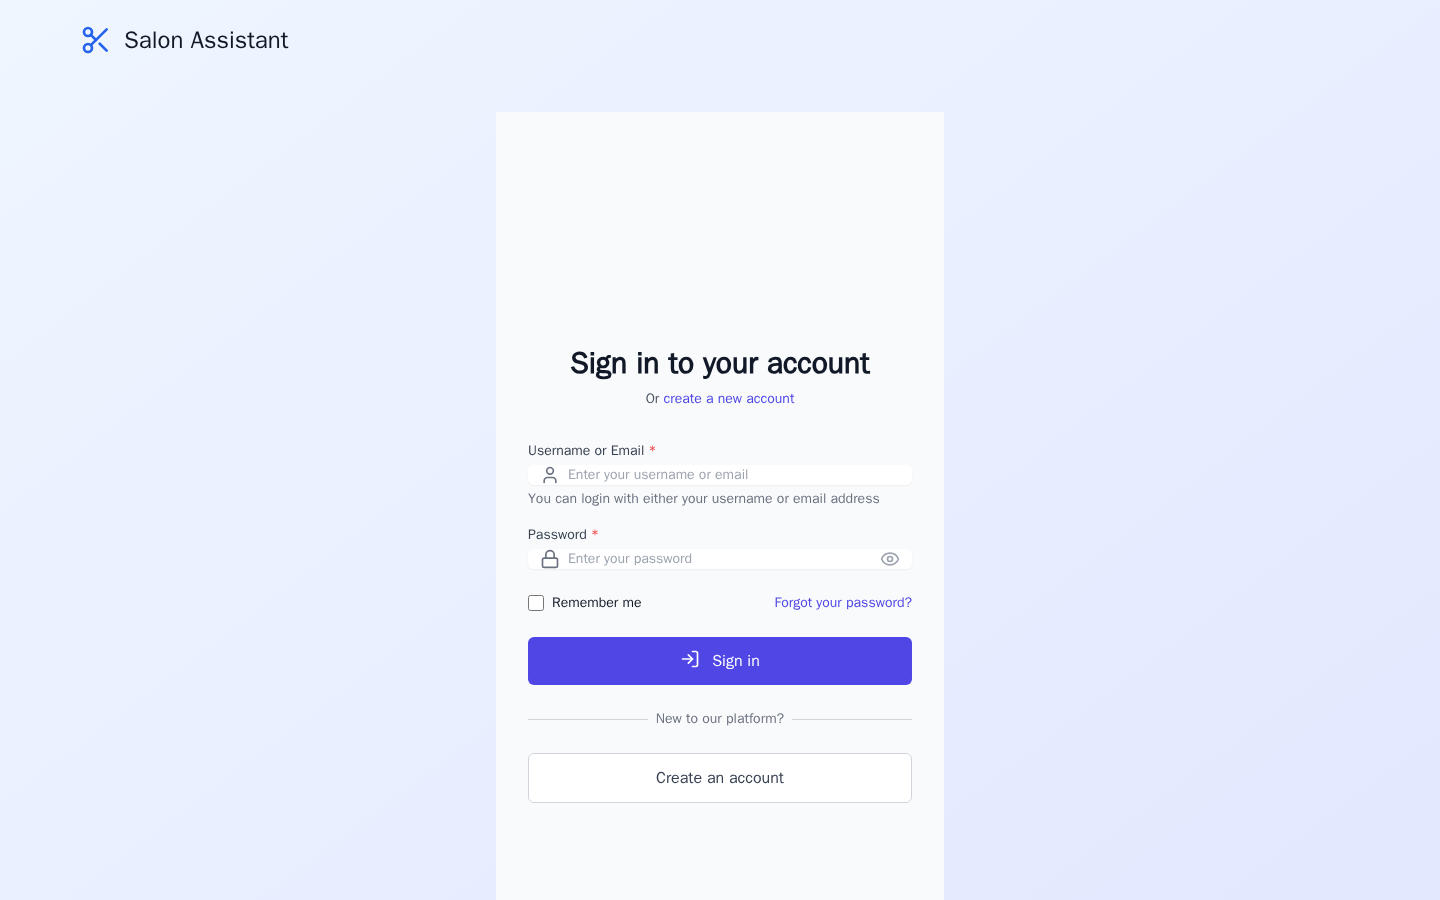
First Login & Setup
Sign in, explore the dashboard, and learn the sidebar navigation.
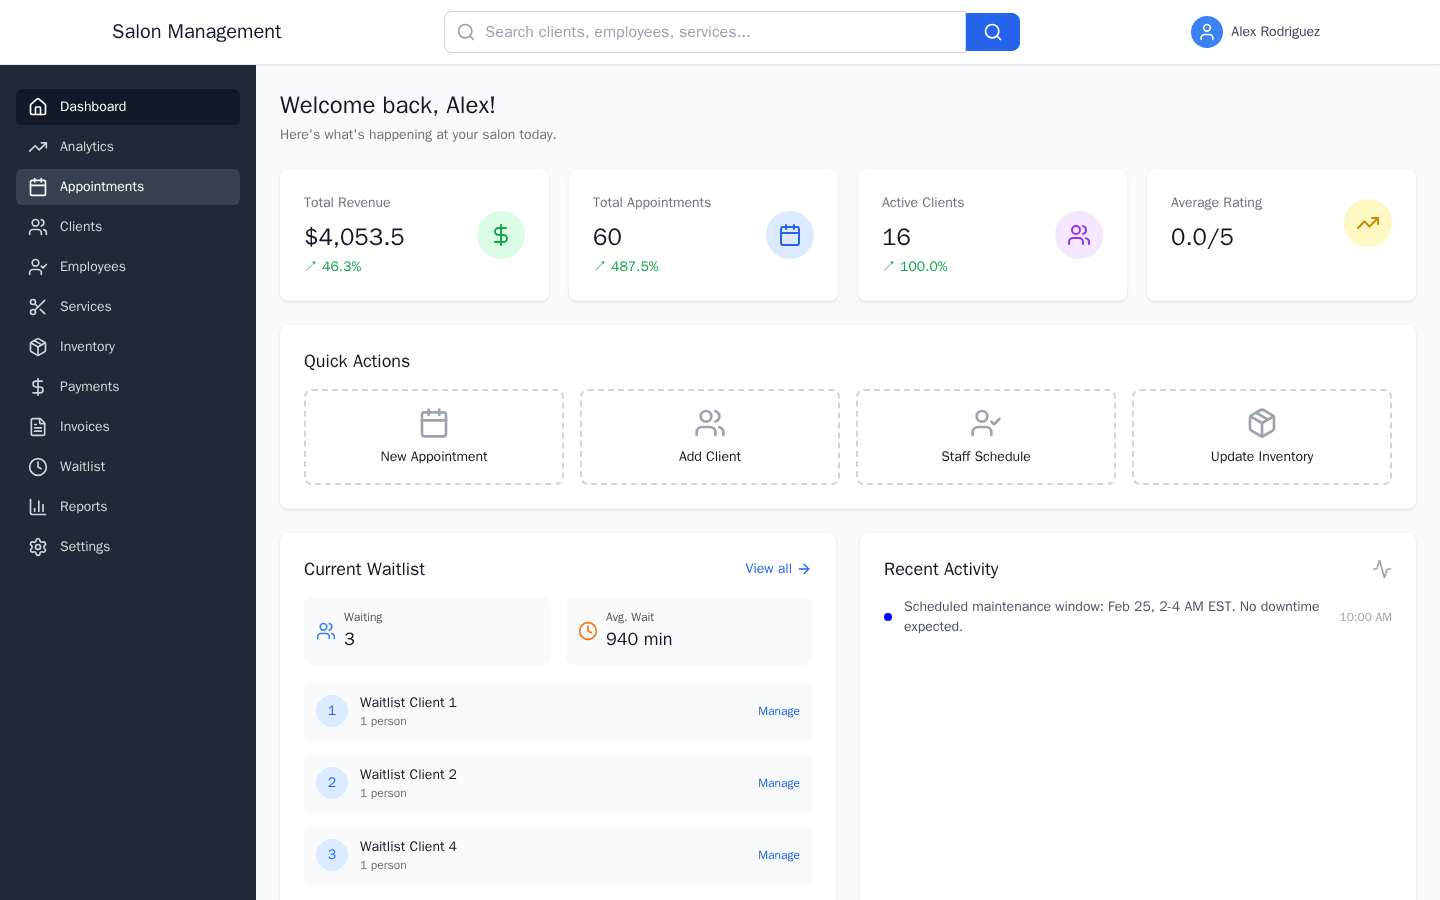
Daily Dashboard Walkthrough
Understand metrics, quick actions, and analytics at a glance.
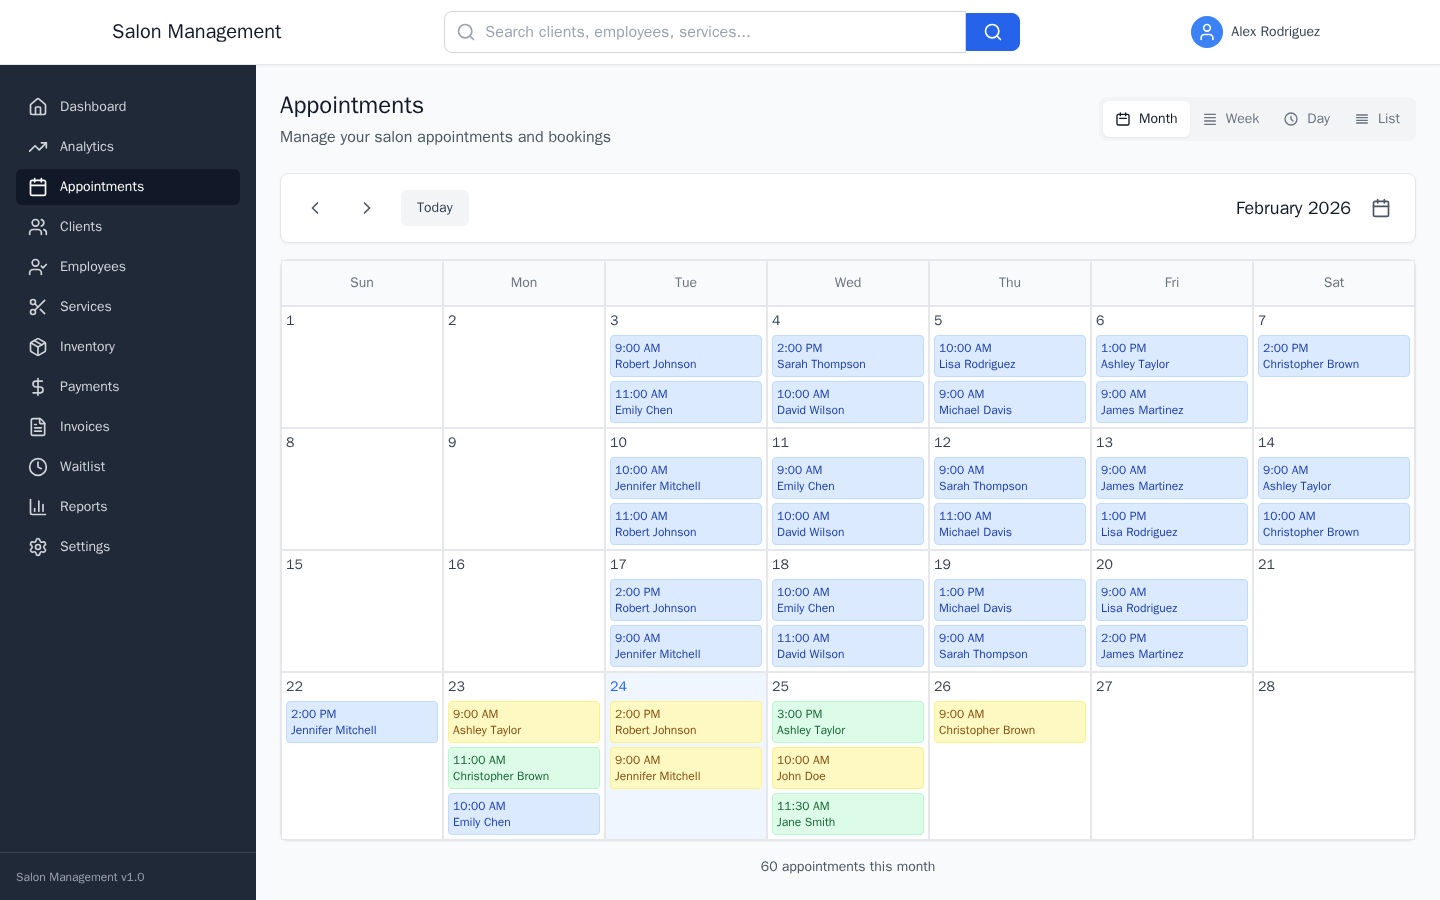
Booking an Appointment
Select a client, employee, service, and time slot to create a booking.

Rescheduling & Canceling
Change dates, cancel bookings, and manage cancellation fees.

Managing the Waitlist
Handle walk-ins, appointment requests, and queue management.
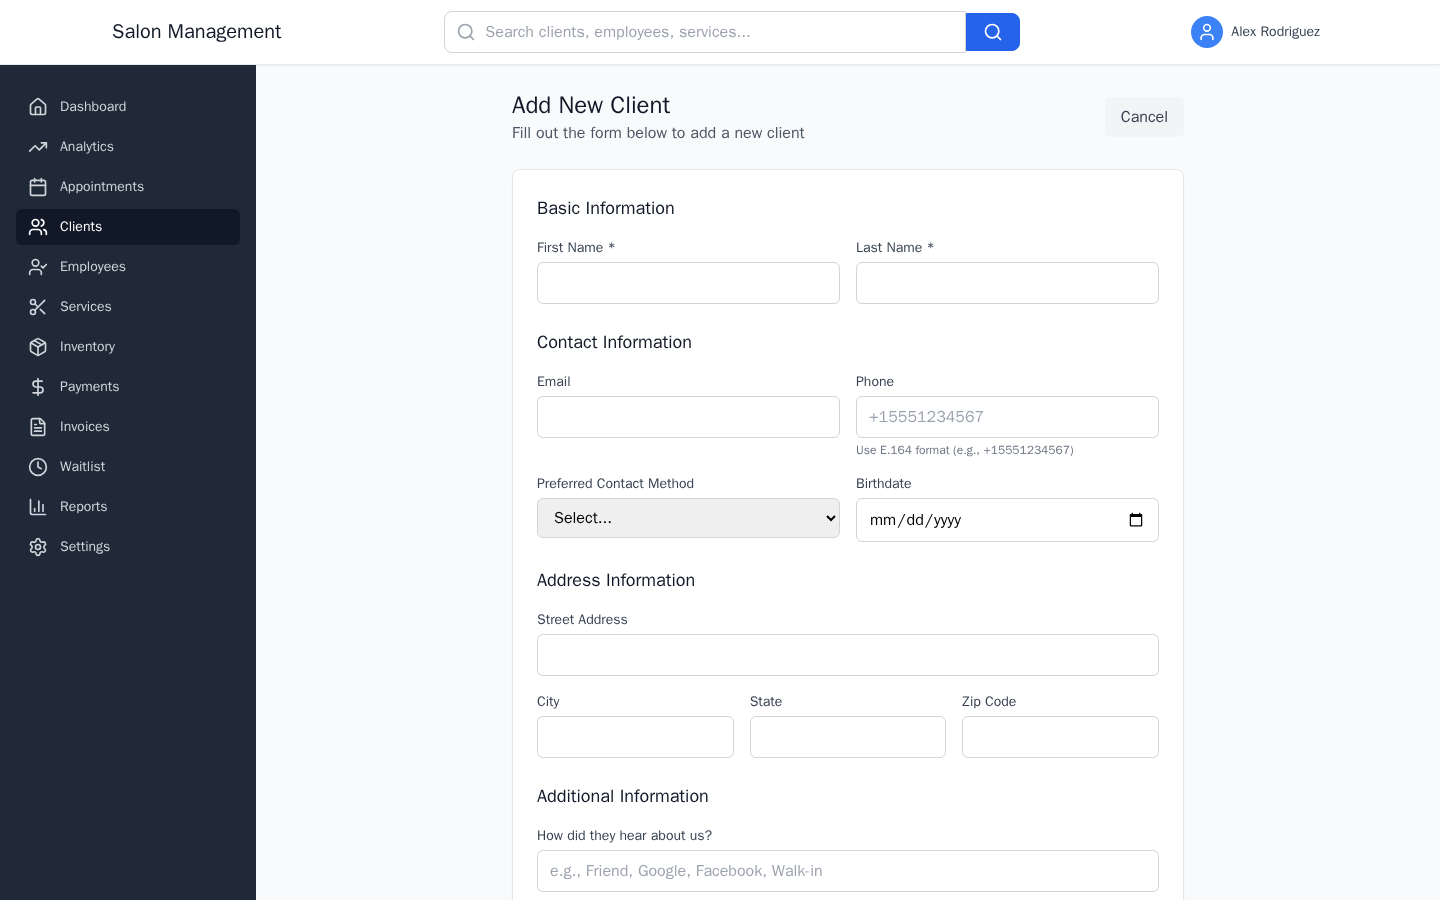
Registering a New Client
Add client profiles with contact info, preferences, and notes.
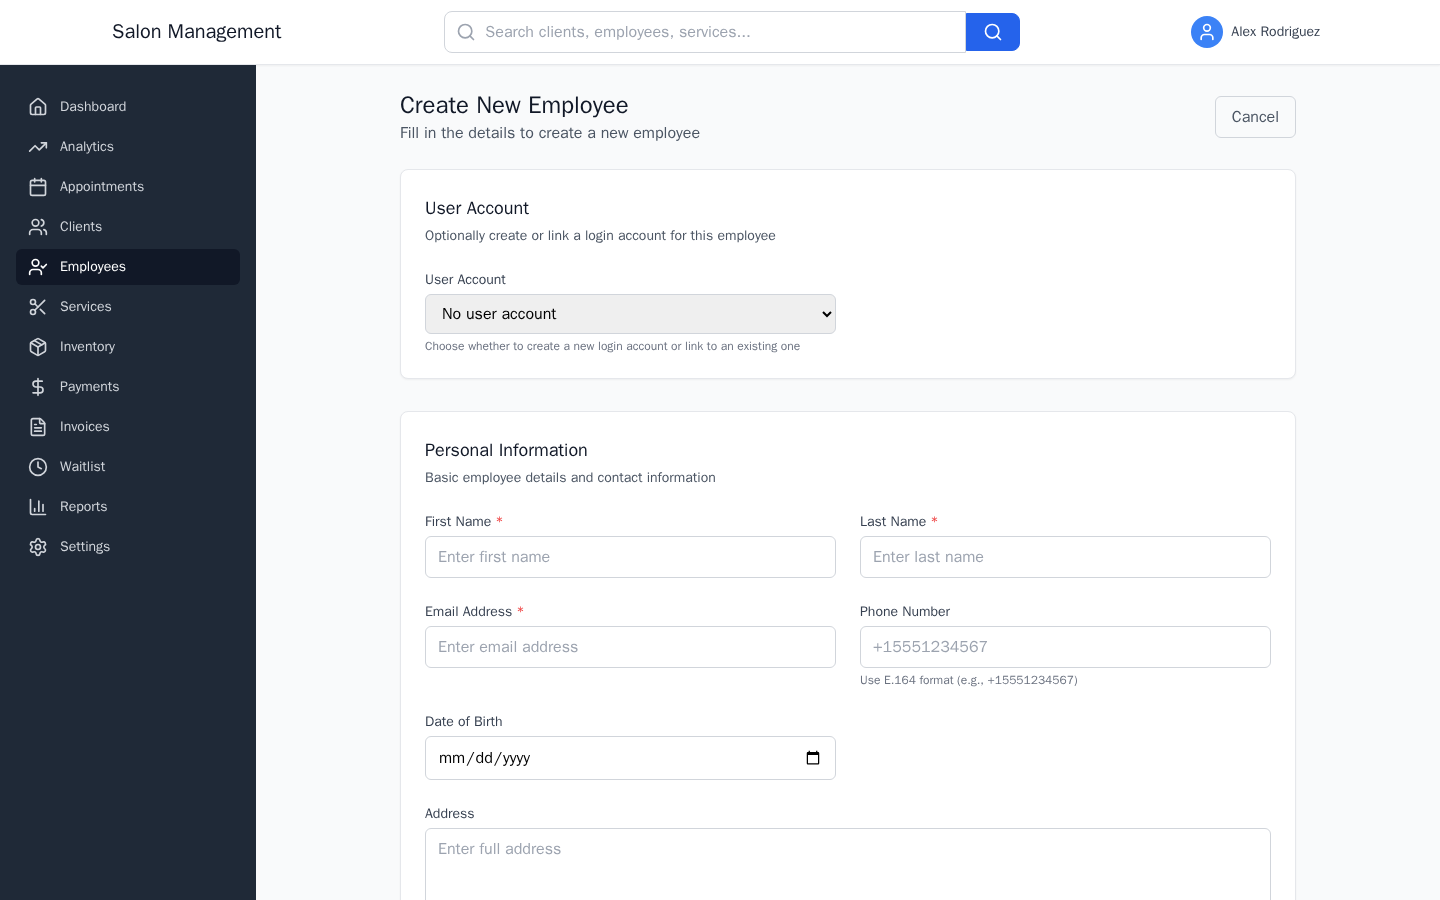
Adding an Employee
Create staff profiles with skills, schedules, and service assignments.

Processing a Payment
Record payments with tips, choose payment methods, and send receipts.
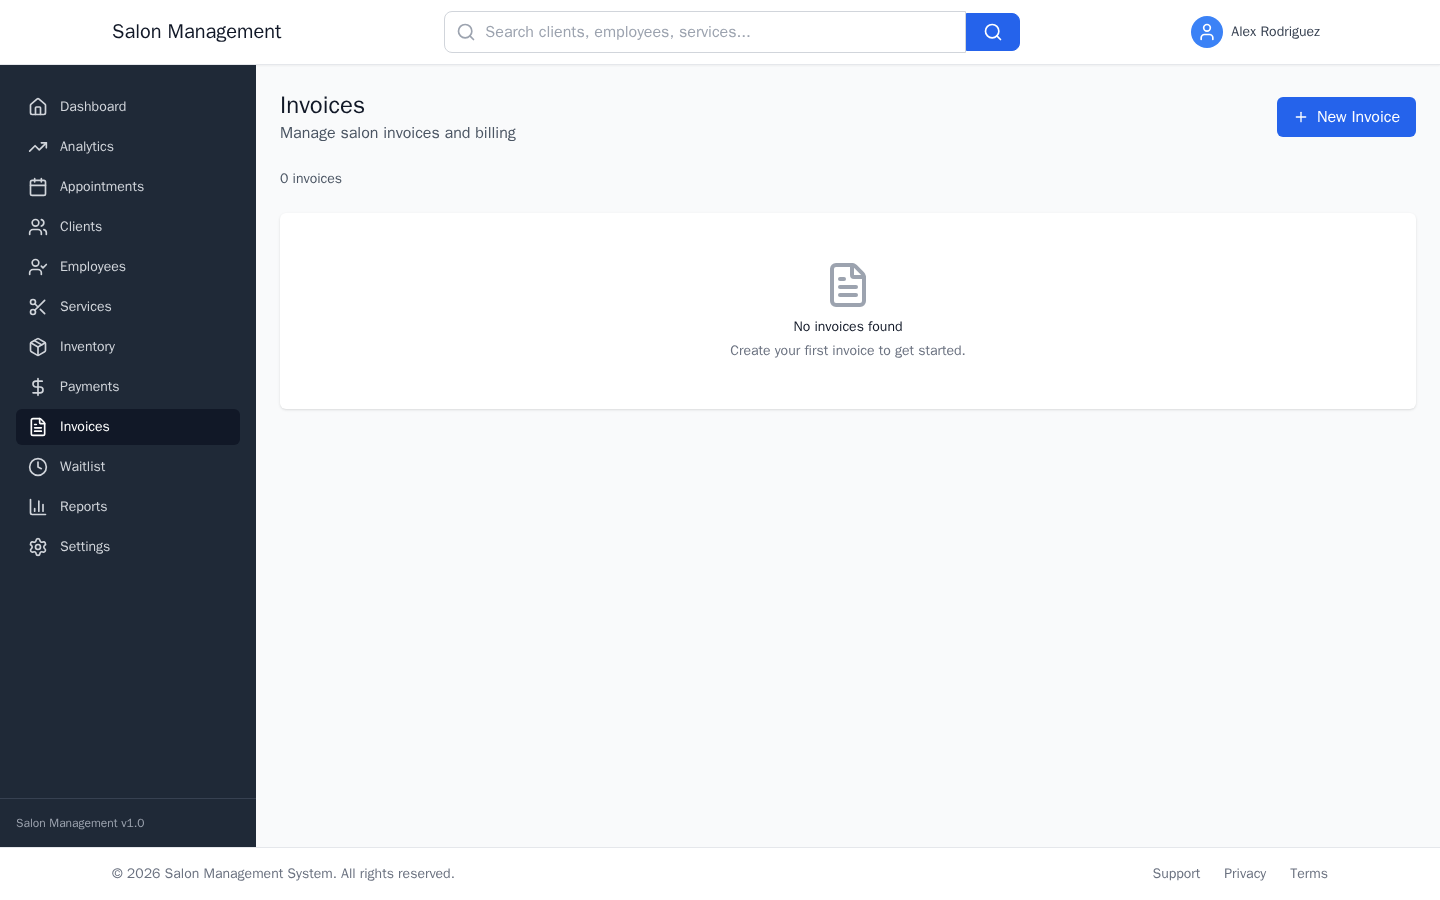
Creating & Sending an Invoice
Build itemized invoices, send by email, and track payment status.
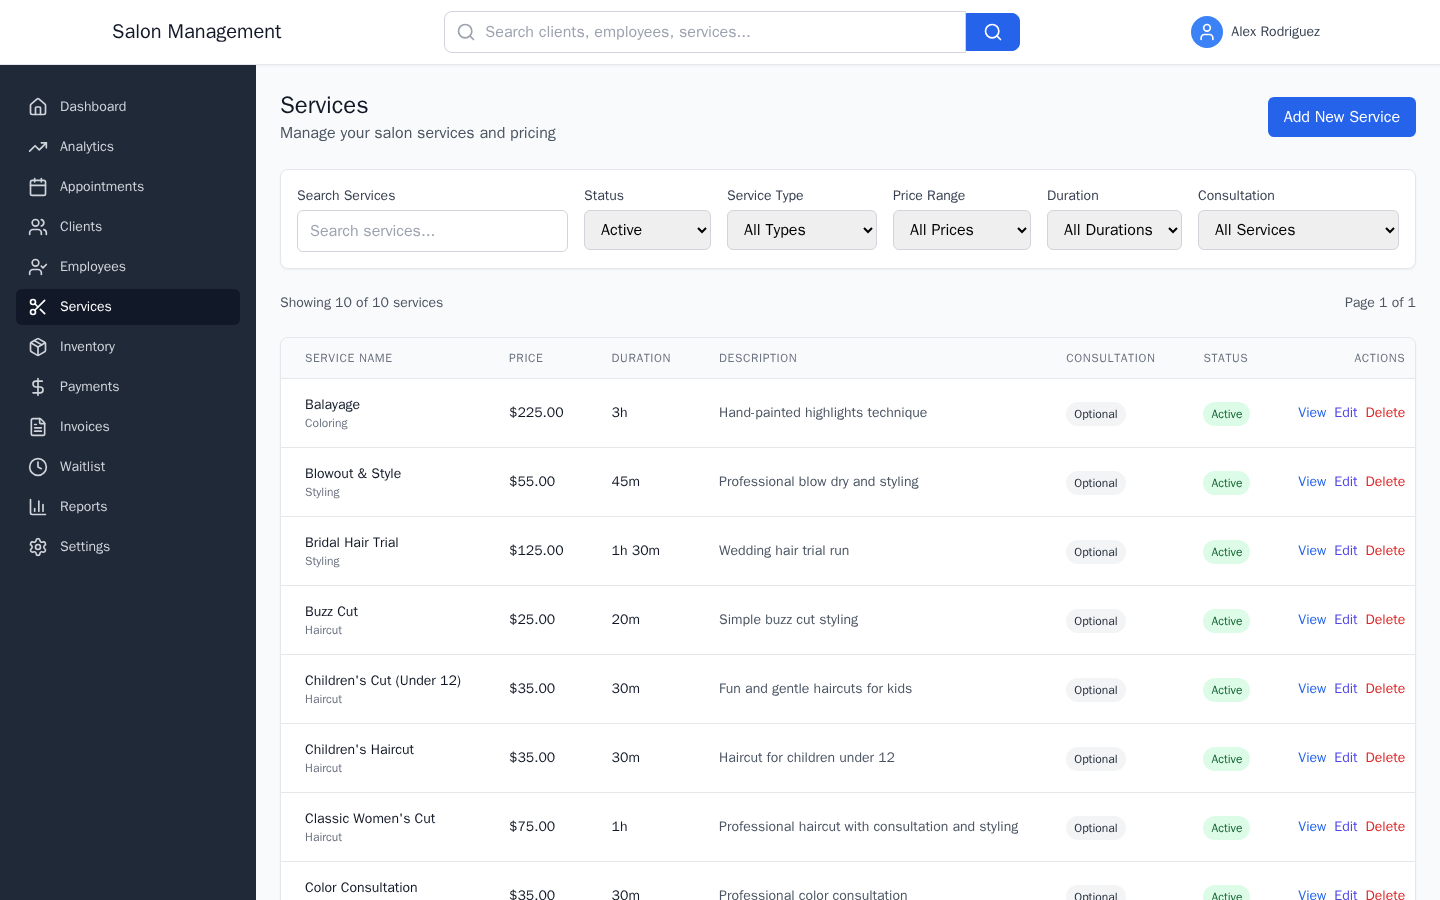
Services & Inventory
Manage your service catalog and track product stock levels.

Reports & Exporting
Generate revenue reports, analyze clients, and export CSV data.
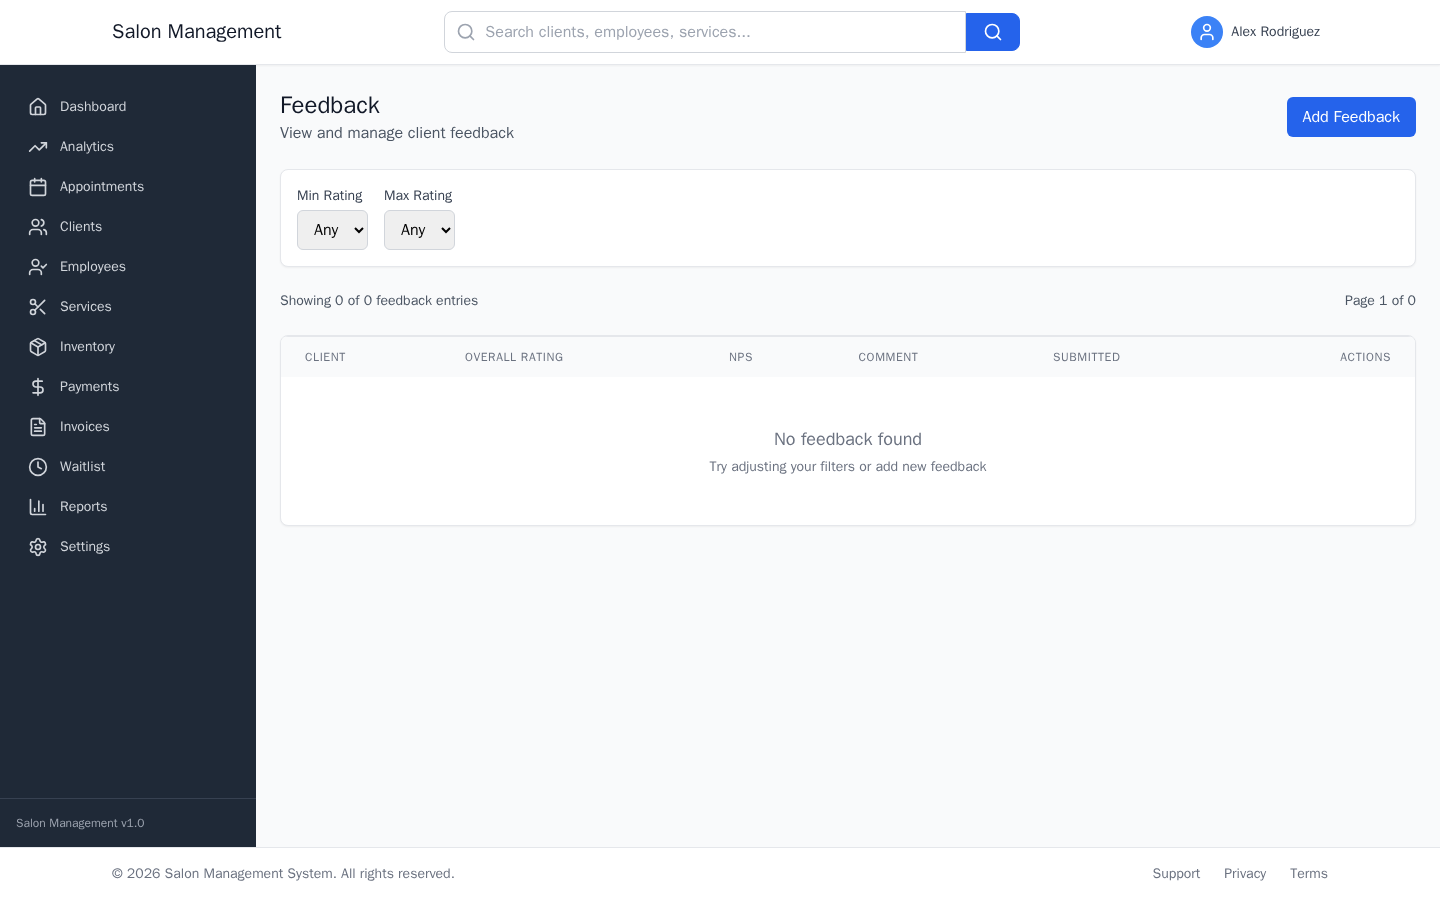
Feedback & Reviews
Collect star ratings, NPS scores, and respond to client feedback.
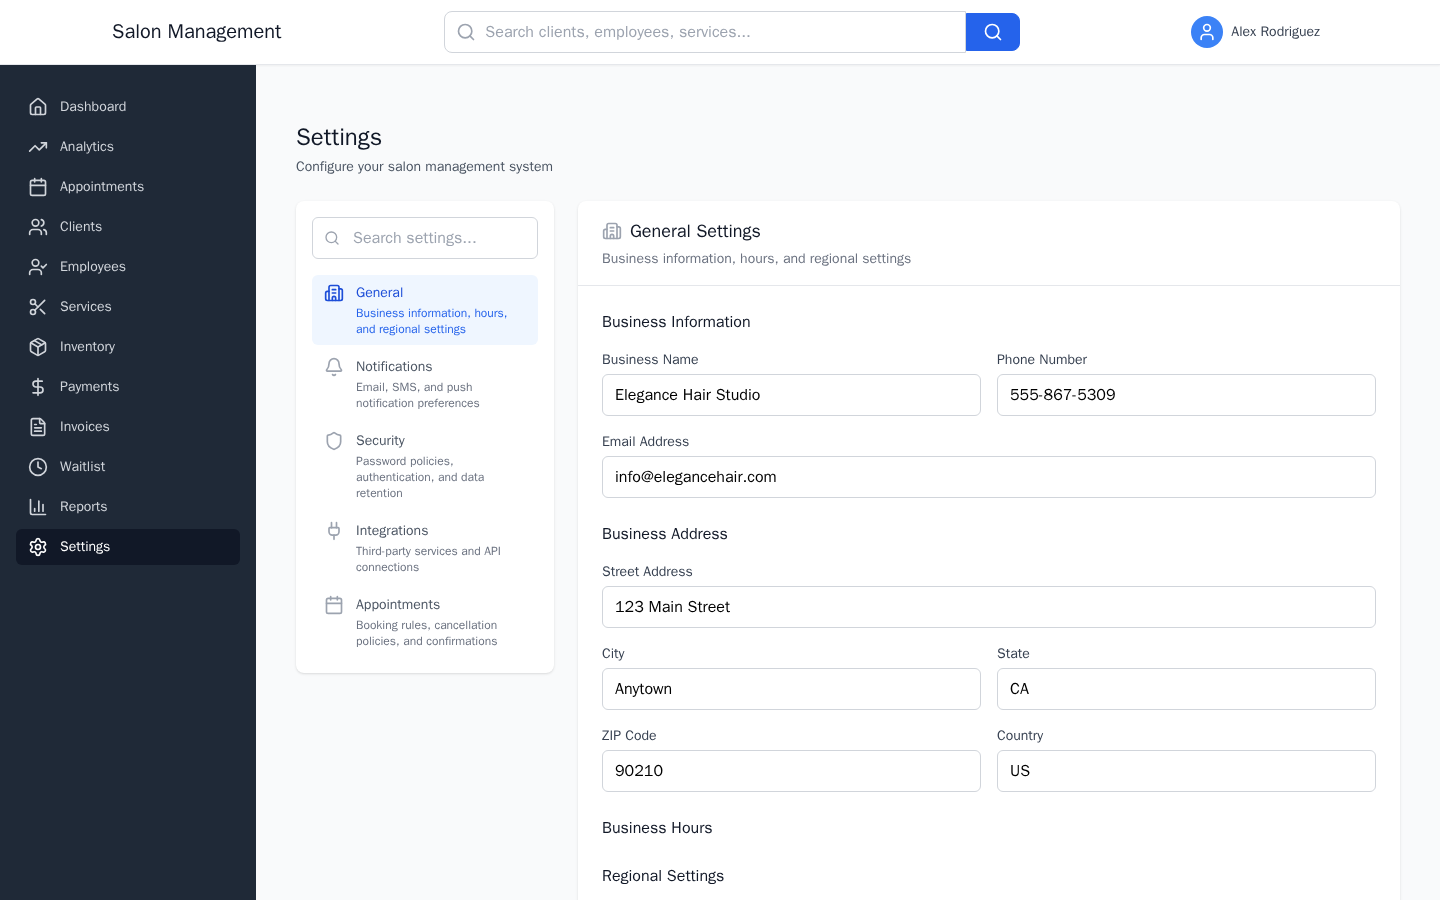
Configuring Settings
Business info, notifications, security, integrations, and booking rules.

Switching Between Locations
Use the SalonSwitcher to change location context and view aggregate data.

Managing Your Organization
Access the organization dashboard, manage locations, and configure org settings.
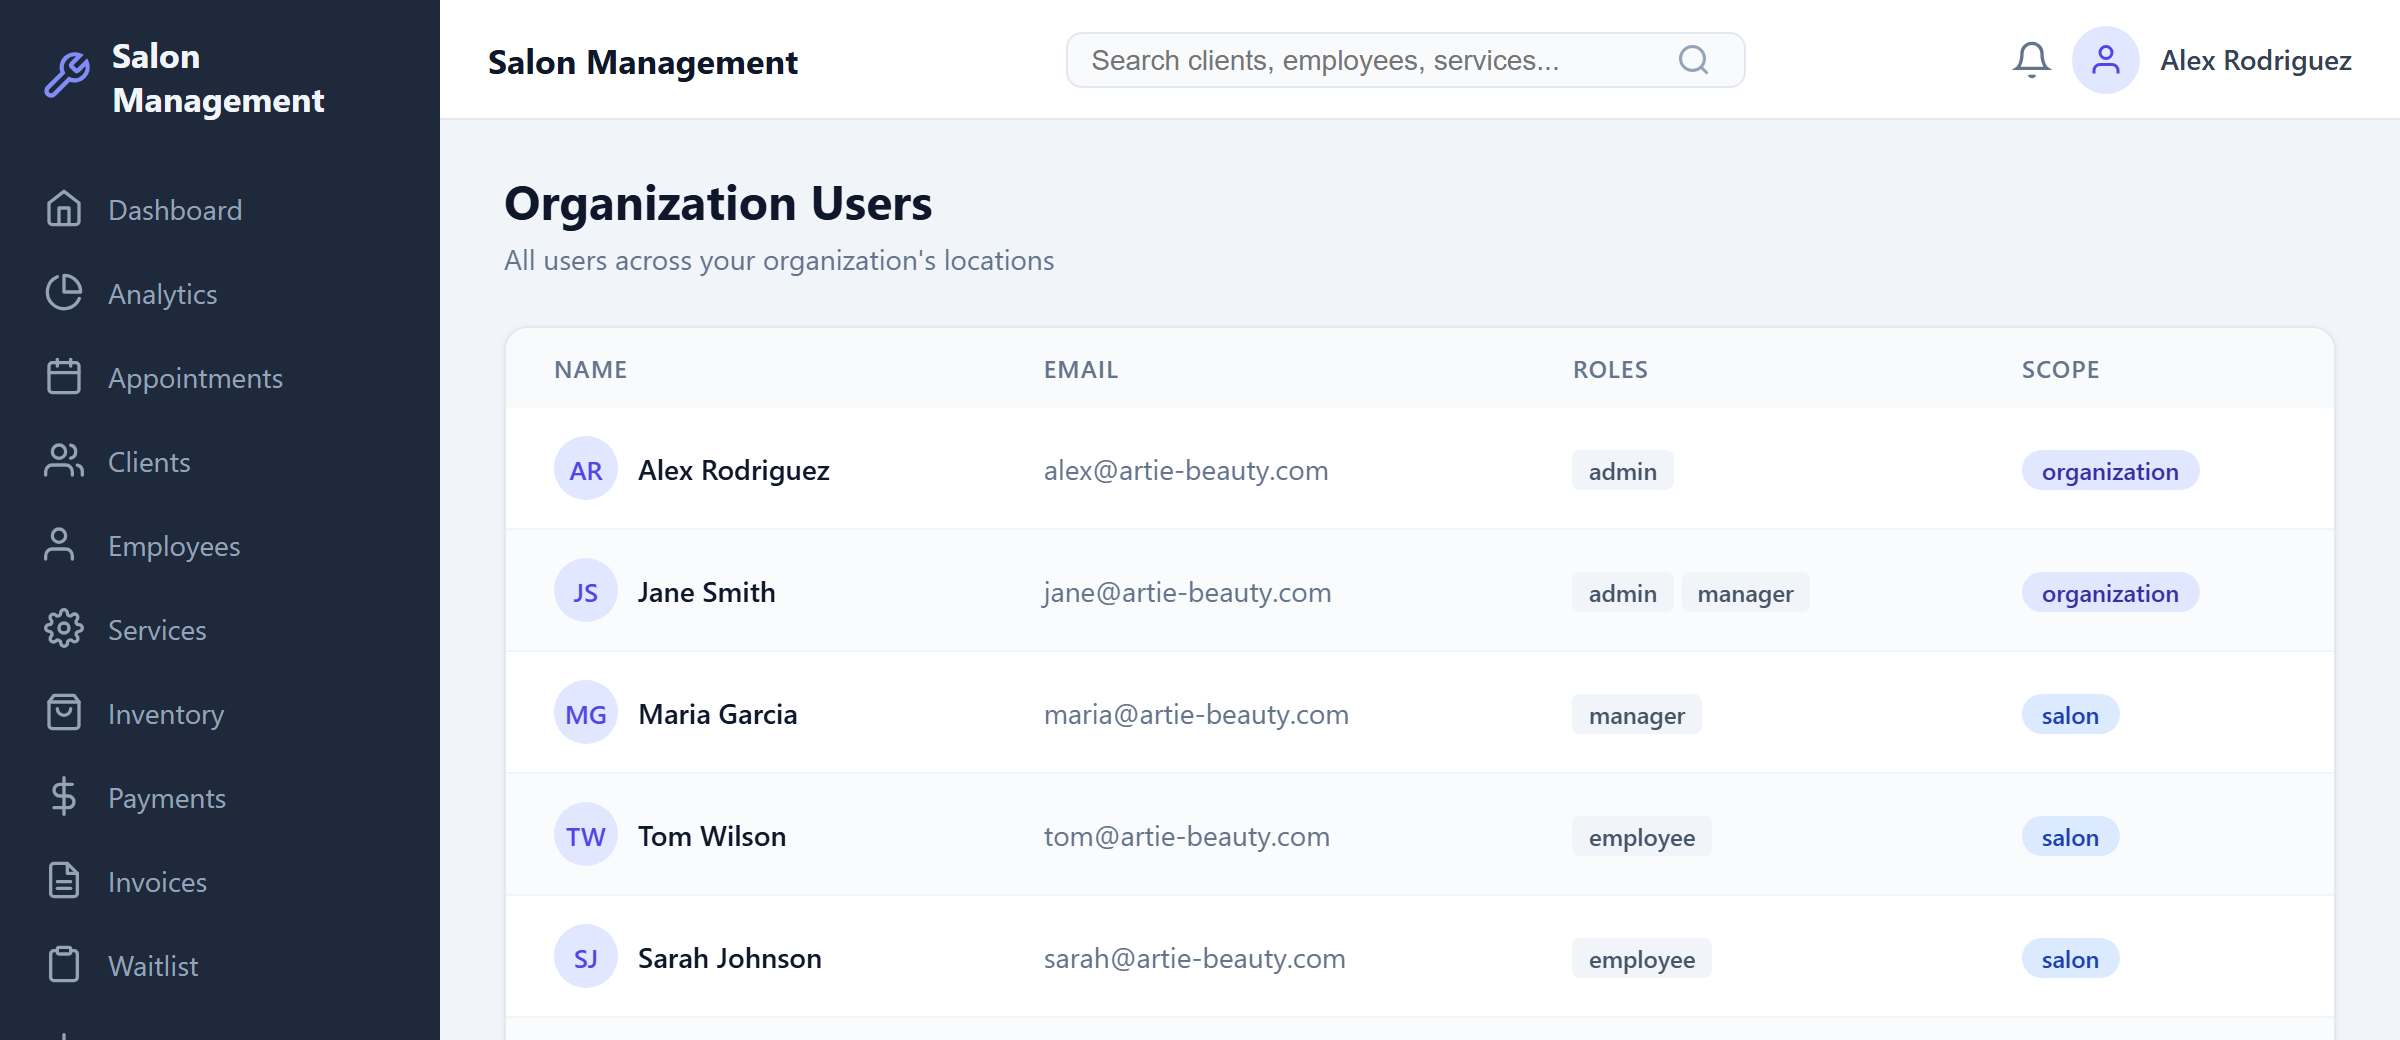
Cross-Location User Management
View all users across salons with their roles and access scopes.

Cross-Location Reporting
Aggregate metrics, per-salon comparisons, and cross-location data exports.

Setting Up Public Booking
Configure your public-facing booking portal for guest appointments.

Embedding the Booking Widget
Add a booking button to your website (WordPress, Squarespace, Wix, custom HTML).
QR Codes & Booking Links
Generate QR codes and platform-specific booking links for marketing.

Text Message Communication
Set up text message consent, keywords, and compliance.

Setting Up Stripe Payments
Connect Stripe for automated payment processing and tracking.

Managing Membership Plans
Create plans, enroll clients, track subscriptions and benefits.

Analytics Dashboard
Monitor ROVI metrics, salon health score, leaderboards, and achievements.